My 5 Easy Steps to Weekly Meal Planning
Sometimes, the things that make you great in the kitchen have nothing to do with cooking! I know, I know, not what you were expecting me to say, but hear me out. Today I want to share with you 5 tips that are going to help you bring organization to the kitchen. If you do nothing else, at least try these 5 tips out – I promise you they will make your life easier!
Read The Entire Recipe Before You Start
For reducing overwhelm and getting organized in the kitchen, this step is KING. Go through each step of the recipe and make sure you are clear in what you need to do. When I first started out in the kitchen, this was something I often overlooked. Although this won’t make or break your meal, it will save you some potential headaches and time. For example, step one says to put a pot of boiling water on the stove. Then you get down to step 4 and it says to add some sauce to a small saucepan and heat it up. Now let’s say you have a small and a large pot. You may put the smaller of the two on the stove with the water. You realize you need the smaller ones for the sauce, and should have used the larger one for the water. By reading over everything at the beginning, you would have saved your time. You wouldn’t need to make this switch or wash extra dishes.
Set Up Your Workspace
Organization is key in the kitchen. By spending a few extra minutes, in the beginning, you will save yourself time while cooking. And you’ll save yourself the overwhelm. Go through and make sure you have a nice clean workspace. Then take out everything you need. Ingredients, cutting boards, mixing bowls, knives, vegetable peelers, etc. This will make sure that you aren’t scrambling to find something mid-way through cooking. Risking something burning, or you getting hurt.
I want to share a quick story here, to show how such a simple thing can save you a MASSIVE headache. I came home from work late one night and decided to whip up some quick pasta and tomato sauce for dinner. The counter still had dishes on it that needed to be loaded into the dishwasher. Instead of taking a few moments to clean my workspace and I started cooking. I put one pot of water on the stove to boil, and a second pot on the stove to heat the tomato sauce.
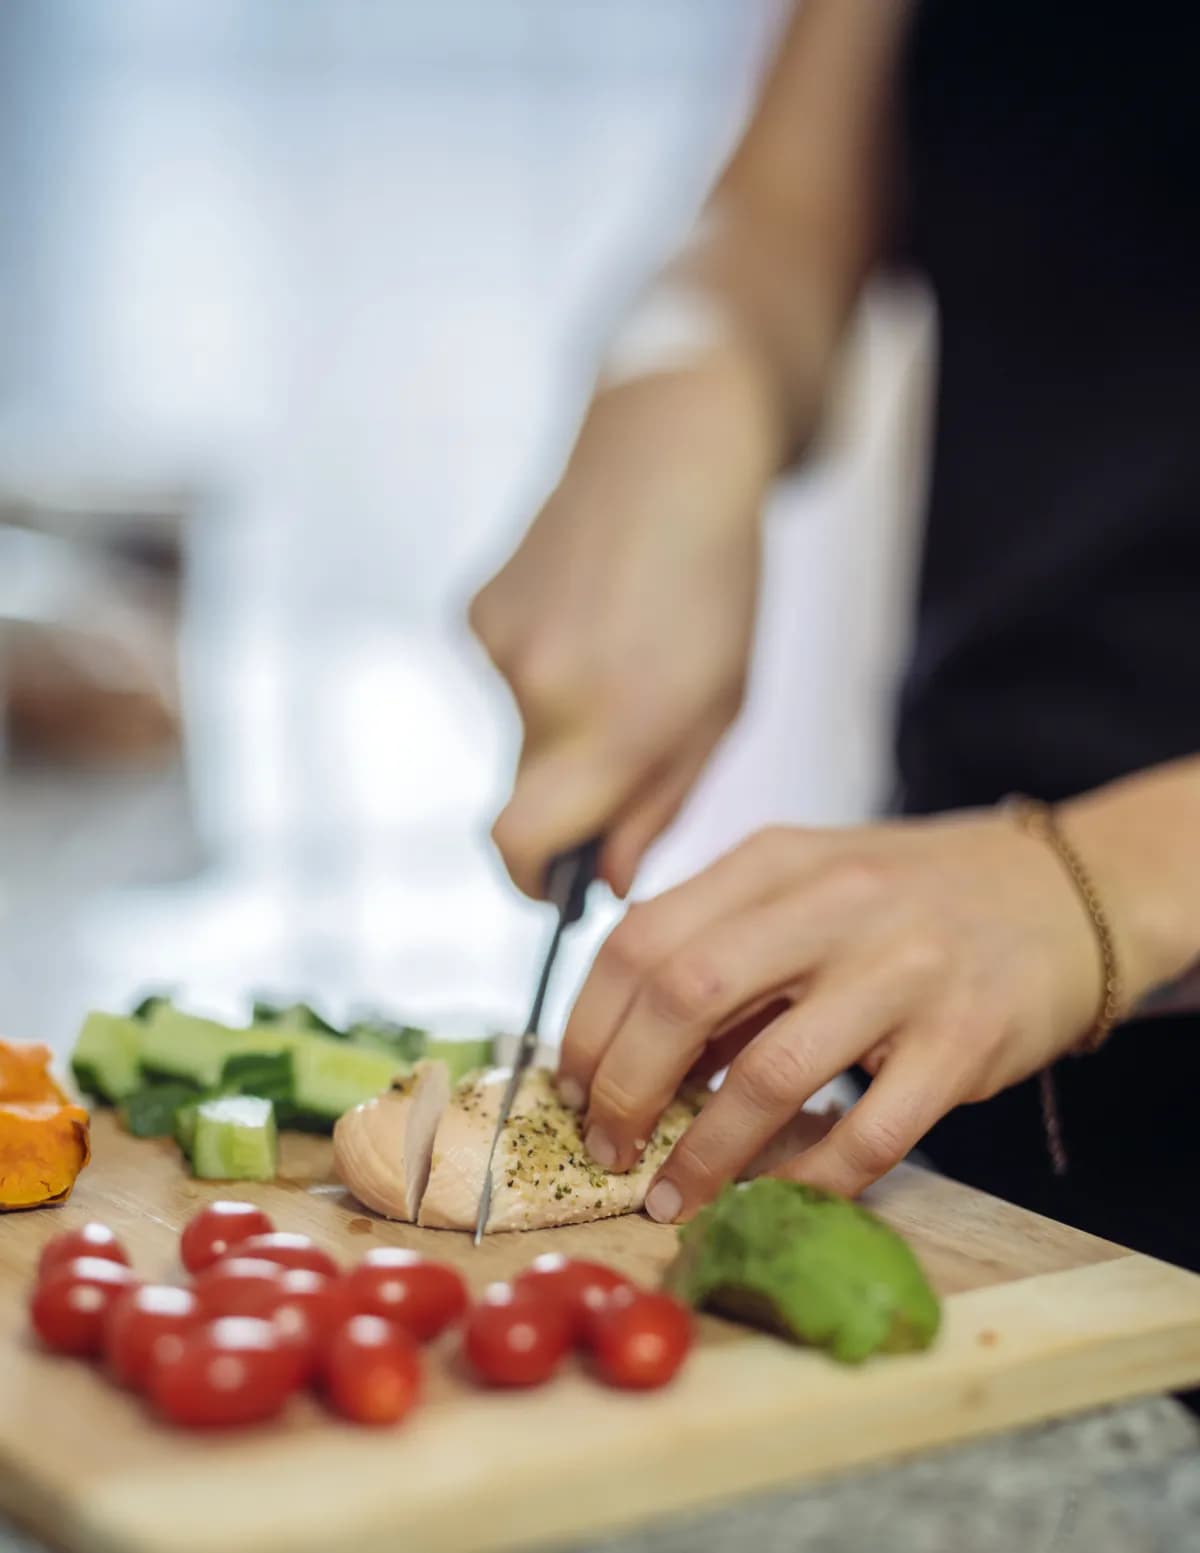
I realized I had some fresh basil in the fridge and decided I would chop it up to add to my dish. I pulled out a small cutting board and put it at the edge of the counter where there was some available space. Two cuts in, my knife slipped, and I chopped off the tip of my finger. I will save you the details, but the evening resulted in a trip to urgent care. Weeks of a bandaged up finger, and months later I still had weird sensations in my fingertip.
So what’s my point here? I traded 5 minutes to clean up my workspace for 3 hours in urgent care. Not to mention the pain and discomfort of having a missing fingertip.
Clean As You Go
I was fortunate enough to have a mother that taught me this step way before I went to Culinary School. Don’t wait until after you’ve made your meal and leave your kitchen looking like a bomb went off. As you use your ingredients, put them back into your fridge or pantry. When you are finished with bowls, utensils, load them straight into the dishwasher. Waiting for your casserole to bake? Wash some things that can’t go in the dishwasher. And if you will do none of these little shortcuts, at least do one – wipe down your countertop as you go! This is not only a time-saver but CRUCIAL in preventing cross-contamination.
Taste Your Food Before Seasoning
Let’s talk about salt for a moment. When you read your recipe, it is going to get to where it will tell you to season with salt and pepper. No, this is not the part where I tell you salt is bad and omit this step. But what I am telling you is you should taste your food first. Salt helps to bring out the natural flavours of the dish and is necessary. But depending on the ingredients you are using, the amount you are adding will change. For example, if you have sauteed something in salted versus unsalted butter. Some seasoning has already been added so you will need less.
Recipes Are Only A Guideline
This tip may seem tricky, particularly at first. But the more you cook, the more you will feel comfortable adjusting to suit your taste. Yes, there are some parts of the recipe that will need to be a little more exact. For example, you are making a roux (flour and butter) to thicken a cream sauce. The ratio of flour to butter should be one to one. But, if your recipe calls for a clove of garlic and you LOVE garlic, throw in two or three. Practice makes perfect here. The more cooking you do, the more comfortable you will feel to tweak things.
There you have it. My five tips. Working smarter not harder is my motto not only in the kitchen but in life. Implement these today and you will quickly lose the overwhelm in the kitchen.
Meal planning doesn’t have to be hard. With just 5 easy steps, see how I plan and execute my meals for the week.
I’m going to share with you the exact process I use every week to plan and execute my meals.
Step 1: Look at your Week
The first thing we need to do is take a look at our weekly calendar. Are there any days where you will be eating out? Are there days where you need something super quick because of an evening activity? Are there days where packing leftovers into your lunch would be beneficial? Remember, when you are first starting out, you don’t have to try and conquer 7 days’ worth of meals. Start small. Maybe one or two days, and then build up from there.
BONUS TIP: I always leave one or two days where I will use up any leftovers that I have. This helps me make sure that I am not wasting any food. Also, when looking at your week, pick one day as your planning and grocery shopping day, and another day as your prep day. Some people find it successful to do this all in one day, but for me, I find it easier to break it up into 2 chunks. Do what works best for you!
Step 2: Choose your Meals
Decide on a place you will store recipes. Whether these be physical recipes cut out of magazines, or written out by hand. Or digital copies saved from a website or typed out on your computer. Either way, have one place that is your go-to. Start with 3-5 that you are comfortable with. In order to get comfortable and effective in the kitchen, you need practice. Repeating some of the same recipes will help with this. When you are comfortable, start with introducing one or two new ones each week. Now that you have decided which meals you are going to have for the week, start plugging them into the days you will have them. Keep in mind, that leftovers are your friends. Are there certain meals that you can make a double batch and have the leftovers on another day? Look at meals with similar ingredients. Do you have salmon and broccoli down for dinner one night? Is there another recipe that includes broccoli and you can make it another night? Minimizing the number of ingredients is going to help with not getting overwhelmed and will cut down the time it takes you to go shopping.
Step 3: Grocery Shopping
Go through your meal plan and make a list of all of the ingredients you will need. Have a look at what you already have on hand. Take inventory of your pantry, freezer, and fridge. Are there ingredients that you already have that you can use? Once you exclude the items you have already, make a list of the items you will need to purchase.
BONUS TIP: Organize your list according to where you find the items in the store. For example, group all of your fruits and veggies together. Then group all of your meats together. This will save you time having to scroll through your list as you walk down each aisle. It will also prevent you from forgetting anything. Really strapped for time? Use an online/pick-up option. Since the pandemic, most grocery stores allow you to place an order online, select a pick up time, and be able to pick up your groceries without even having to walk into the store. If you are choosing to go in and shop the traditional way, make
sure NOT to do this on an empty stomach. This is the best way to make sure you aren’t buying additional foods you don’t need or quick snack options to eat on the car ride home.
Step 4: Prep Time!
Time to get out the pen and paper. Go through each recipe and write out what you can do ahead of time to eliminate the length of time it will take the night you are making your meal. Some people, they like cooking all of their meals and then just reheating them each day. If this is easiest for you then do your thing! For me, I like to prepare as much as possible without actually completing my meal. For proteins, this could include cutting them into my desired sizes and putting them in containers with marinades. For vegetables, this is all of my chopping. I also like to blanche my vegetables. This is where you cook them for a couple of minutes in boiling water and then immediately transfer them to an ice water bath. What this does is allow the vegetables to cook through to the center. This way when you are ready to make your meal, your vegetables simply need to be roasted or sauteed, allowing for caramelization on the outside to occur, without having to wait until the centers are cooked. Blanching ahead of time not only cuts down on your cooking time during the week but also ensures even cooking. Nobody wants charred vegetables that are raw on the inside. Lastly, for any of your green vegetables, blanching preserves their bright green color. For starches, making your rice or quinoa during your prep means you simply have to reheat it at mealtime.
Step 5: Mealtime Execution
Now we get to the easiest step of all – making your meal. Since all of the “work” has already been done, all you have to do is basically put your meal together. Cook-off your protein. Finish off your vegetables. Reheat your starch. VOILA! Let’s Eat!
Plan your work, and work your plan!
The best way to be successful in the kitchen is to have a plan and then execute what is on your plan. The more practice you get, the quicker you will be able to do this. At first, it might seem daunting, but practice makes perfect. Take the extra time on your prep days to make sure everything is ready to go, which means that during the week, you aren’t spending hours making a meal, especially after a long day at the office!